Penyanyi : Project Pi ZX 3.14 Part #4 - The Build
Judul lagu : Project Pi ZX 3.14 Part #4 - The Build
Project Pi ZX 3.14 Part #4 - The Build

Welcome to the NEW ZX 3.14
You don't need me to explain the name do you...?

So I'm back again with Project Pi #4 and I have finalized the name ZX 3.14 (Pi...right) Phew!
If you haven't seen my previous posts here are the links to get you up to speed...where have you been...sigh lol!
Project PI #1 Introduction.
Project PI #2 Choosing the case.
Project PI #3 Introducing the new Spectrum.
So lets get started.......
Click after the jump for my full post

Well the Bluetooth keyboard is fixed into place as the lid; but of course the underside has to allow enough room when closed for everything else. Infact it just needs to close as it would as a Spectrum.

I realized that it would be best to set the 2.8" screen at the back on the left at an angle so it can be viewed easily with the keyboard off.
Ive had a few comments from some of you (Thank you I love your input too) wondering why I'm putting the screen inside the case; well the first thing is its different, I wanted everything to be a contained unit. Secondly its not been done...I hope.
I will still be attaching HDMI, but its nice to have the options, making it portable. So the idea is to have the screen sitting at a viewable angle so its still comfortable to use within the case without having to keep taking it in and out.
Ive blurred the edges of this image as its now all fitted in and I don't want to give it ll away yet lol!

But because of this idea I hit my first problem in that it would not leave enough room for the keyboard above it to close.
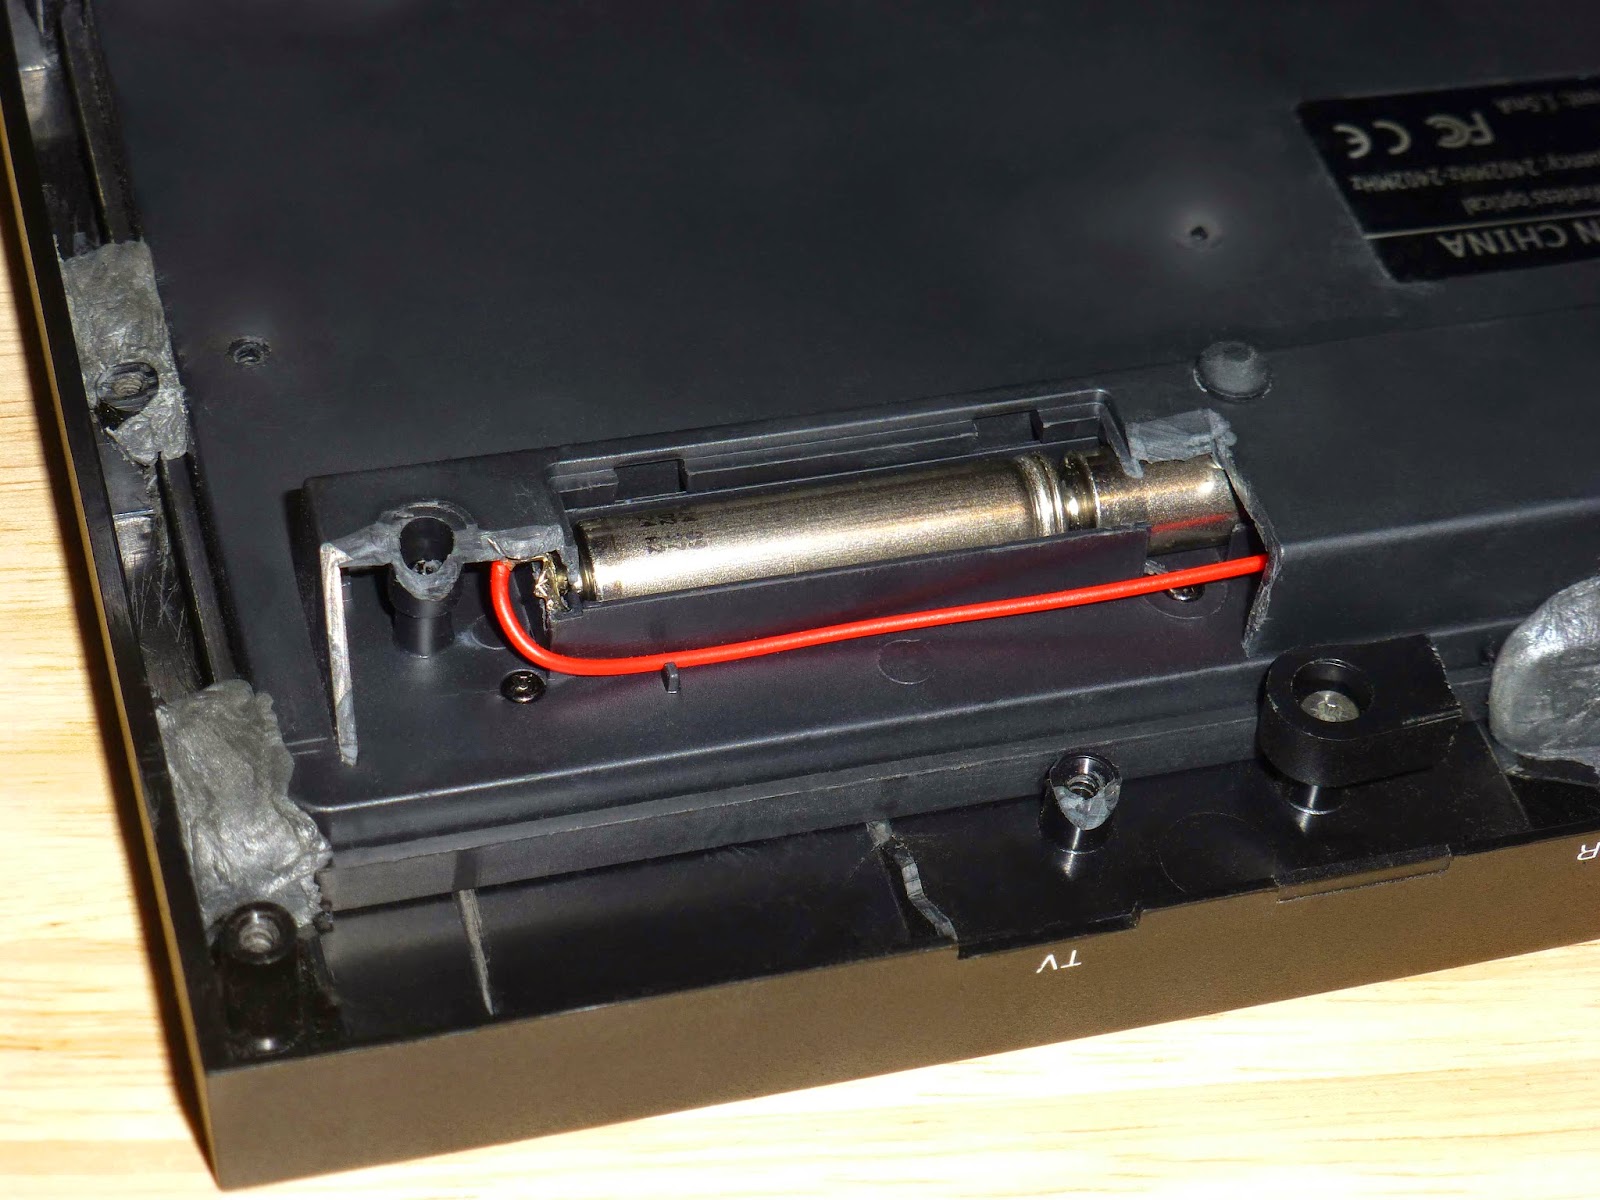
It was just millimeters but they counted...so....drastic action would be needed...calling in my other half...Dremel man; time to cut the outer corner and remove the battery cover, (for insulation it will be taped.)
Yay now it fits without touching the screen.

Easy custom, added a raspberry Pi sticker over the windows key; quite ironic lol!

There are not many actual Raspberry Pi diagrams out there so here you go there is now. Because I wanted the Pi to be in the center with ancillaries either side it dictated where the connectors were going to be positioned.
3D render of the Raspberry Pi 2 Plan with wiring.
It wasn't until I produced my 3D render of ZX+Pi that I realized I would have to be careful where everything would fit or I would run out of space. It helped my understanding that try as I might if the screen was going to be built in, it would be better placed at the back and there was no way I could get the HDMI cable to wiggle its way over the pi under the screen and exit out the back like I had originally planned, so a new idea was formed with a 90 deg HDMI connector, if even such a thing existed.
It was also thanks to my render that it came to me if a power pack was going to join the party I would have a problem inserting/removing the bootup card from the Pi, a hole would have to be cut underneath the power pack.

After hunting around my graveyard of gadgets I came across an old hand control from my Nintendo that was gathering dust, so in I went and after some minor surgery came out with a amplifier and two speakers.


Then it was finally onto fitting the Pi an exciting but also nervous moment; four 3mm holes and some tiny bolts/spacers/nuts later and the Pi had a home he could be proud of.

With the Pi fitted I could see exactly where the breakout board would go, this was dictated to by the length of the ribbon cable, again 4 bolts etc and it wasn't moving. Plus my nails make THE best spanner.

It was also secured using the original pezo electric speaker hole in the case with a washer; saving another Dremel hole.
My plan is that like a PC I would keep the main operating system, separate from a storage medium, the best choice for that would be a small USB thumb-drive,

I had nothing that was small enough in my USB drive collection so I ordered a 16GB Sandisk Mini drive at the bottom of the picture, you can see the size comparison and I wouldn't be needing the cover cap, so yup its tiny.

16GB Sandisk mini drive and a USB 2.0 female-to-micro USB female adapter.
I chose a 16GB Sandisk that was USB 2 and USB 3 compatible for easy transfer between zx+pi and my PC, that was the easy part but trying to find a compact micro female to female usb adapter was another thing, don't they know people haven't got the room in there project cases.
"SHE CANA TAKE ANY MORE CAP'N"
As with any good storyline I want to leave you on the edge of your seat.
#5 coming soon re; finding and installing power-pack, wiring breakout board and more.
Incase you missed the first 3 posts you can catch up below
Project PI #1 Introduction.
Project PI #2 Choosing the case.
Project PI #3 Introducing the new ZX 3.14.
Project PI #4 The Build
Project PI #5 Finished Build
Demikianlah Artikel Project Pi ZX 3.14 Part #4 - The Build
Sekian Kunci gitar Project Pi ZX 3.14 Part #4 - The Build, mudah-mudahan bisa memberi manfaat untuk anda semua. baiklah, sekian postingan Chord gitar lagu kali ini.
0 Response to "Project Pi ZX 3.14 Part #4 - The Build"
Post a Comment